Afternoon Light at the Marine Garden

AlanLichty

Moderator
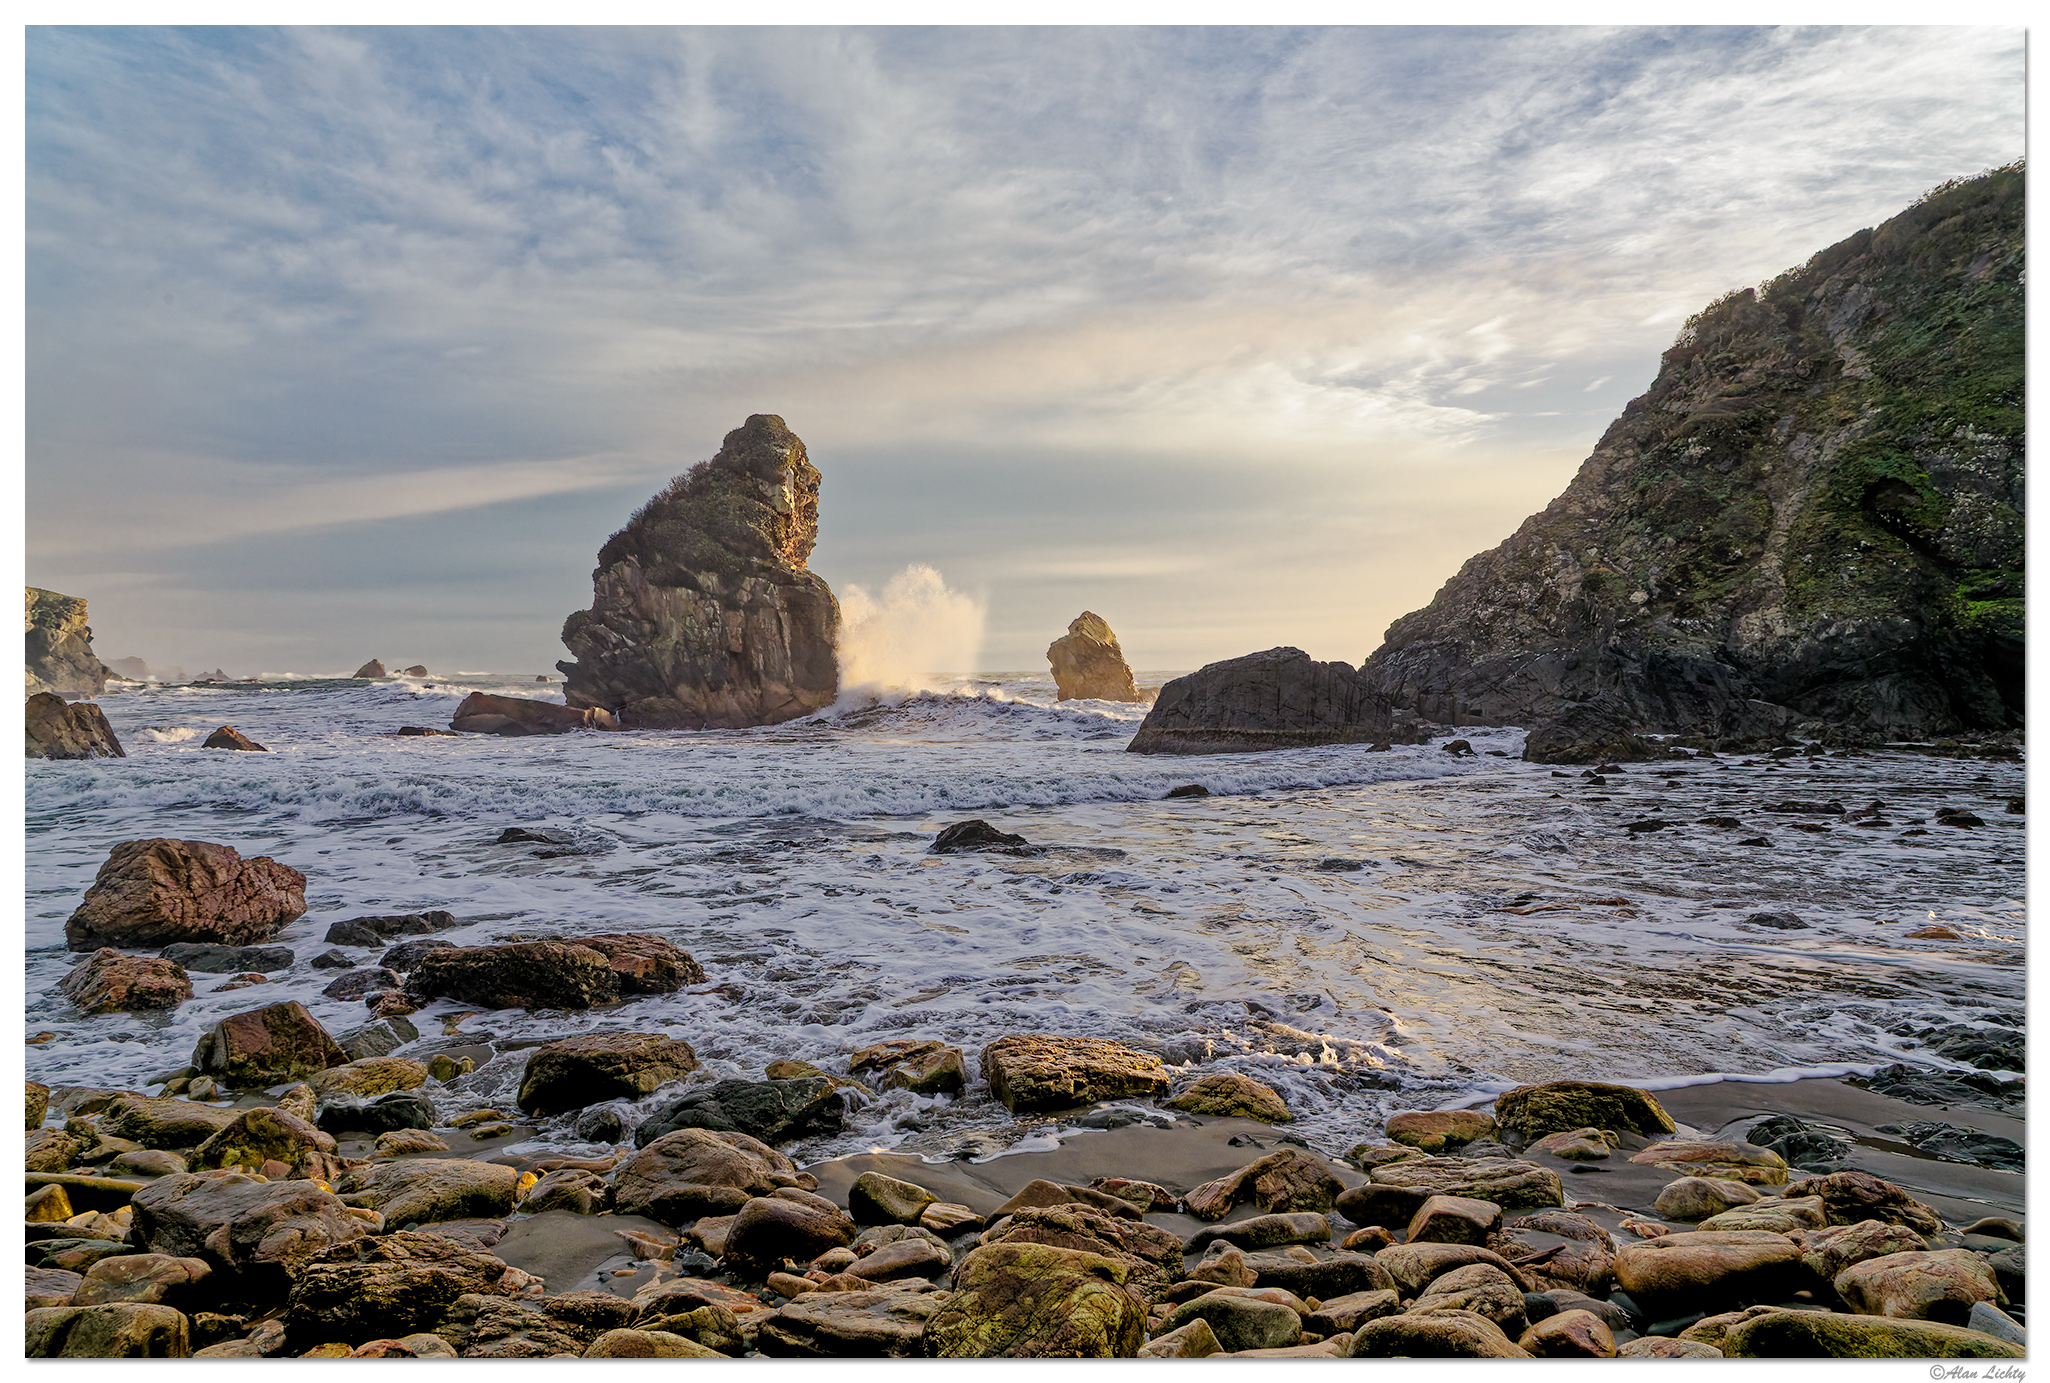
I have been fiddling around with a trial copy of DxO's PhotoLab 9 and looking around for captures that had difficult light and found this image from Harris Beach State Park. One of the things that PhotoLab can do well is balance extreme light using spot targets you flag to identify the range of light to adjust. I typically pick out the darkest and brightest areas in the scene along with a few areas in the mid range before moving the intensity slider for the adjustment. The software does include the the same DeepPrime 3 denoise tool that is in the PureRAW 5 tool which also helps clean up the image. In my use case I call PhotoLab up from Adobe Lightroom as an alternative to using DxO's PureRAW and then export the RAW DNG from PhotoLab back into Lightroom for further edits. For the record I am still not seeing large benefits from PhotoLab 9 over my copy of PhotoLab 8 for how I use this application.

In this case I was shooting in the shadow of Arch Rock with late afternoon light that had bright areas in direct light so a very wide range of light to balance. The exposure was for the bright areas to avoid blowing out the highlights but the shadows were very dark and at the limits of what Adobe's tools could gracefully handle. The combination of PhotoLab and Lightroom did a pretty good job of restoring the light in the scene that I saw when I was shooting that afternoon.

C6D_HBSPMarineGardenWaves012816.jpg


C&C always welcome.
 

DES

Well-Known Member
I really like what you have done! On my screen, the tonality is beautiful!

I'm probably just confused, but I have never been able to understand what seems to be a trend toward high contrast imagery...both in photography and also in the so-called HDR monitors. I don't see many inky blacks and eye-watering whites in the real world. Bringing out the subtleties of light and shadow always looks better to me.
 

AlanLichty

Moderator
I really like what you have done! On my screen, the tonality is beautiful!

I'm probably just confused, but I have never been able to understand what seems to be a trend toward high contrast imagery...both in photography and also in the so-called HDR monitors. I don't see many inky blacks and eye-watering whites in the real world. Bringing out the subtleties of light and shadow always looks better to me.
Thanks Darryl - our phones seem to go out of their way to give us punchy colors and light and I find I don't really appreciate how that differs from what I saw when I took the shot. It doesn't help that Adobe gives us sliders to alter the highlights and blacks but offer next to nothing for the midrange light that comprises a lot of the scene above.

I watched a video a few days ago with a photographer describing the lack of mid range lighting control and ways to work around that. I did employee his technique to the scene above which seemed to help a bit.
 

AlanLichty

Moderator
Very nice Alan, and very realistic looking. Is Photolab 9 a keeper?
Thanks Jim - at least for what I have tried so far I haven't seen any advantages to PhotoLab 9 vs. PhotoLab 8. There are some AI masking features in the new version I have not tried out yet and I need to find a capture where I can put that to use to see what all it can do before deciding whether or not to upgrade.
 

Jameel Hyder

Moderator
Staff member
Nice work with this image Alan. Lots of mid tones. I watched that linked video - interesting approach to work with mid tones. Does Photolab has something easier to work with mid tones?
 

AlanLichty

Moderator
Nice work with this image Alan. Lots of mid tones. I watched that linked video - interesting approach to work with mid tones. Does Photolab has something easier to work with mid tones?
Thanks Jameel - the answer is yes and no. PhotoLab (PL) does not have a direct slider for mid tones but it does have a spot weighting tool for balancing the light that does well at recovering captures with whites at the limit and very deep shadows. The end result does boost the midtones depending on how you choose your light targets. To use the tool you select Spot Weighted and then grab the target tool. You can make selections in the image as targets to be considered as you increase the intensity of the tool's effects. I typically define several targets in the brightest and darkest areas of the image and often one or two in the midtones range. increasing the intensity of the adjustment protects the brightest and darkest areas and levels the histogram to show a lot of what was missing in the original. The adjustments are selective brighten/darken and not a luminance slider like the LR midtones hack.

This is the histogram for the untouched RAW file:

1758344907939.png


Histogram as imported back into Lightroom after PL:

1758345036249.png


I still ended up doing quite a few edits in LR before sending it in to PS.
 
Top Bottom