Mike Lewis
Staff Member
I have always wanted to have an all sky camera, but have never wanted to spend the really high price (well over $500, often more like $1,000) for a commercially made one. So recently, when I saw a simple packaging scheme for a Raspberry Pi based one using 3D printed parts I decided to give it a try. As with many projects of mine, I ended up building it twice by the time I had fixed the issues with my first attempt, but eventually had created something that is very functional, albeit with one very large caveat (more about that below.)
The project really works because of the excellent free software from Aaron Morris, indi-allsky. After filling out a few setup parameters it does all the heavy lifting, taking the images, adjusting the camera gain and brightness, and creating the timelapses, and keograms. The system is accessible via a webpage interface, with everything accessible to any user except the settings pages, which require password login to access. Pretty cool. Or unfortunately, not pretty cool, which brings me to the big issue with the current design. Heat. Both the camera and the Raspberry Pi get a bit toasty, and that is under the current weather conditions here in CO. Given that I would like to be able to deploy this down to where my gear is located in AZ, this issue is a non-starter. Camera cooling could be addressed by using a cooled dedicated astro cam of some type for the camera adding cost) and letting the TEC keep the camera below dangerous temp levels during the day (during nighttime I expect the heat to be a feature as it hopefully will handle any dew or frost issues...) The Raspberry Pi though also gets very warm and likely would throttle down and likely shutdown completely under the temps down in AZ even at this time of year. So for now, this is a proof of concept but not a workable camera until those issues are addressed.
The current design uses the built in WiFi of the Pi for connectivity, which is not the best but makes deployment simpler. Another approach would use a dedicated Ethernet cable with PoE to supply the power. That might run into power over Ethernet constraints, depending on demands of the PI, camera, and any cooling solutions, but would have more reliable connectivity. In my case, I have a small outdoor rated Wifi repeater that is now next to the camera on the roof to solve any connectivity issues.
Even with these design compromises, the output from the camera is still pretty fun. I have hosted 2 representative timelapses on YouTube, and will include some still images here. What is the point of all of this (other than some geeky engineering fun) - well it is very helpful to be able to see what parts of the sky are clear at any given time when you are imaging, especially imaging remotely as I do.
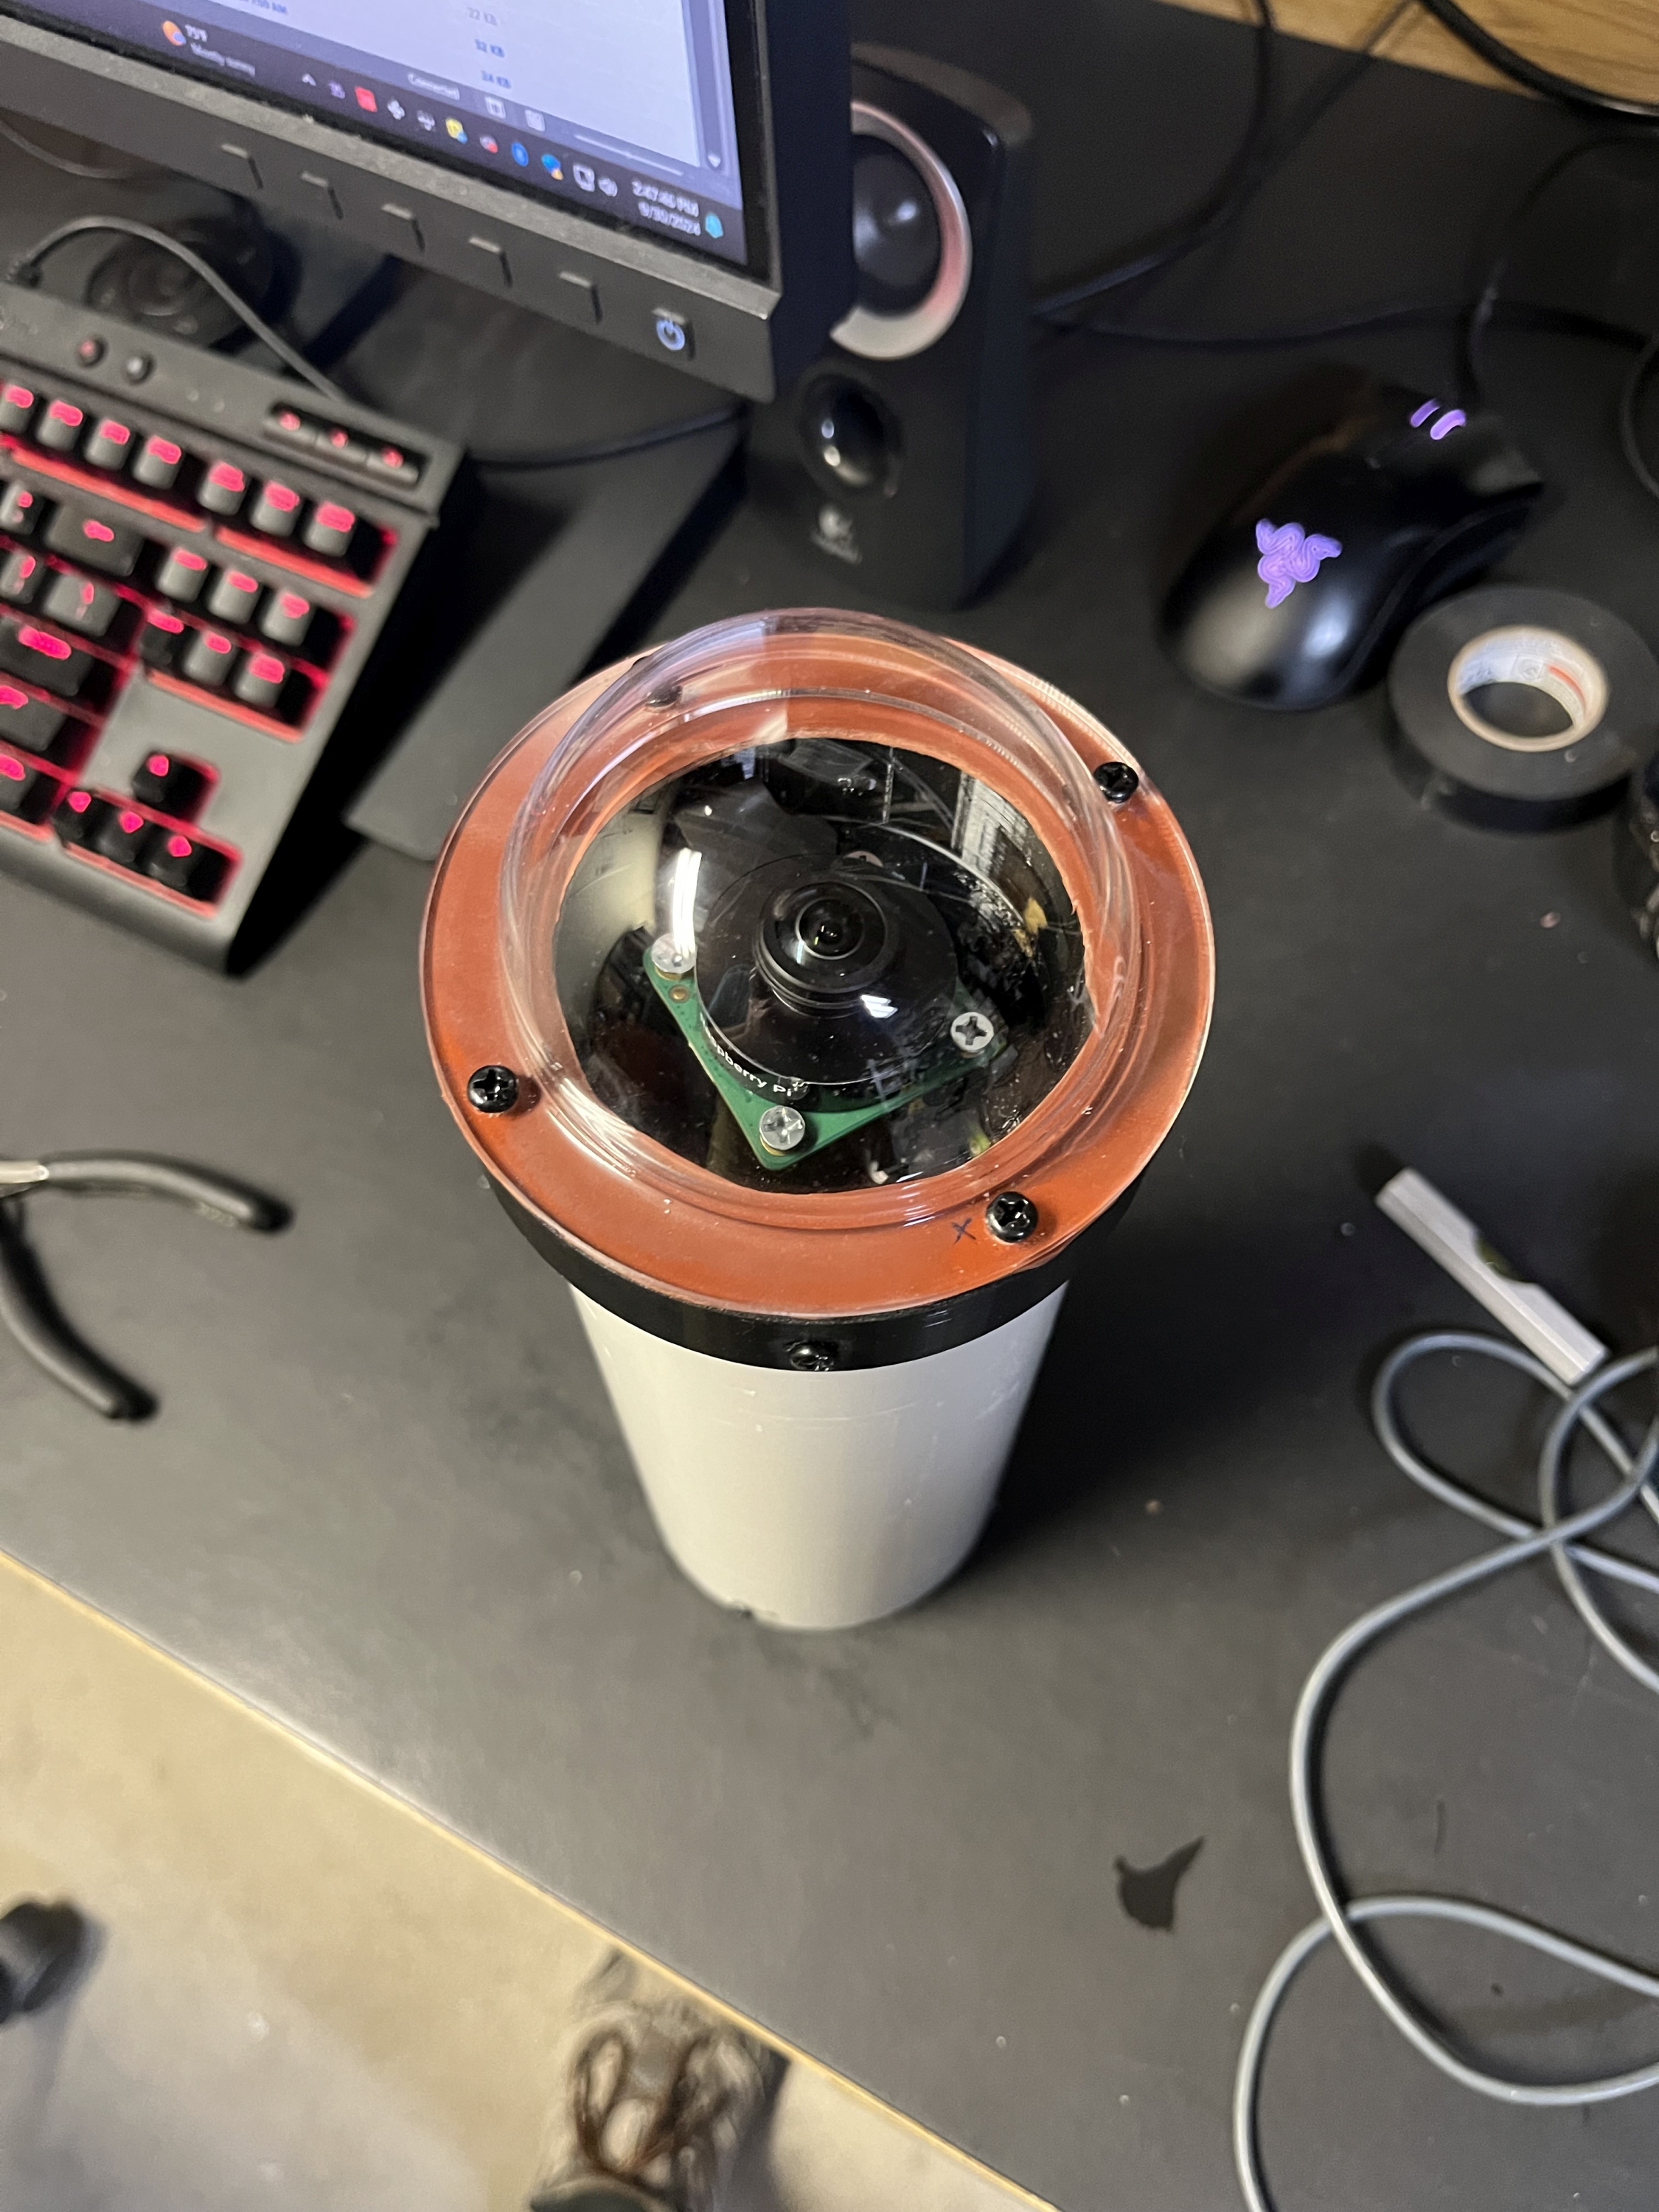
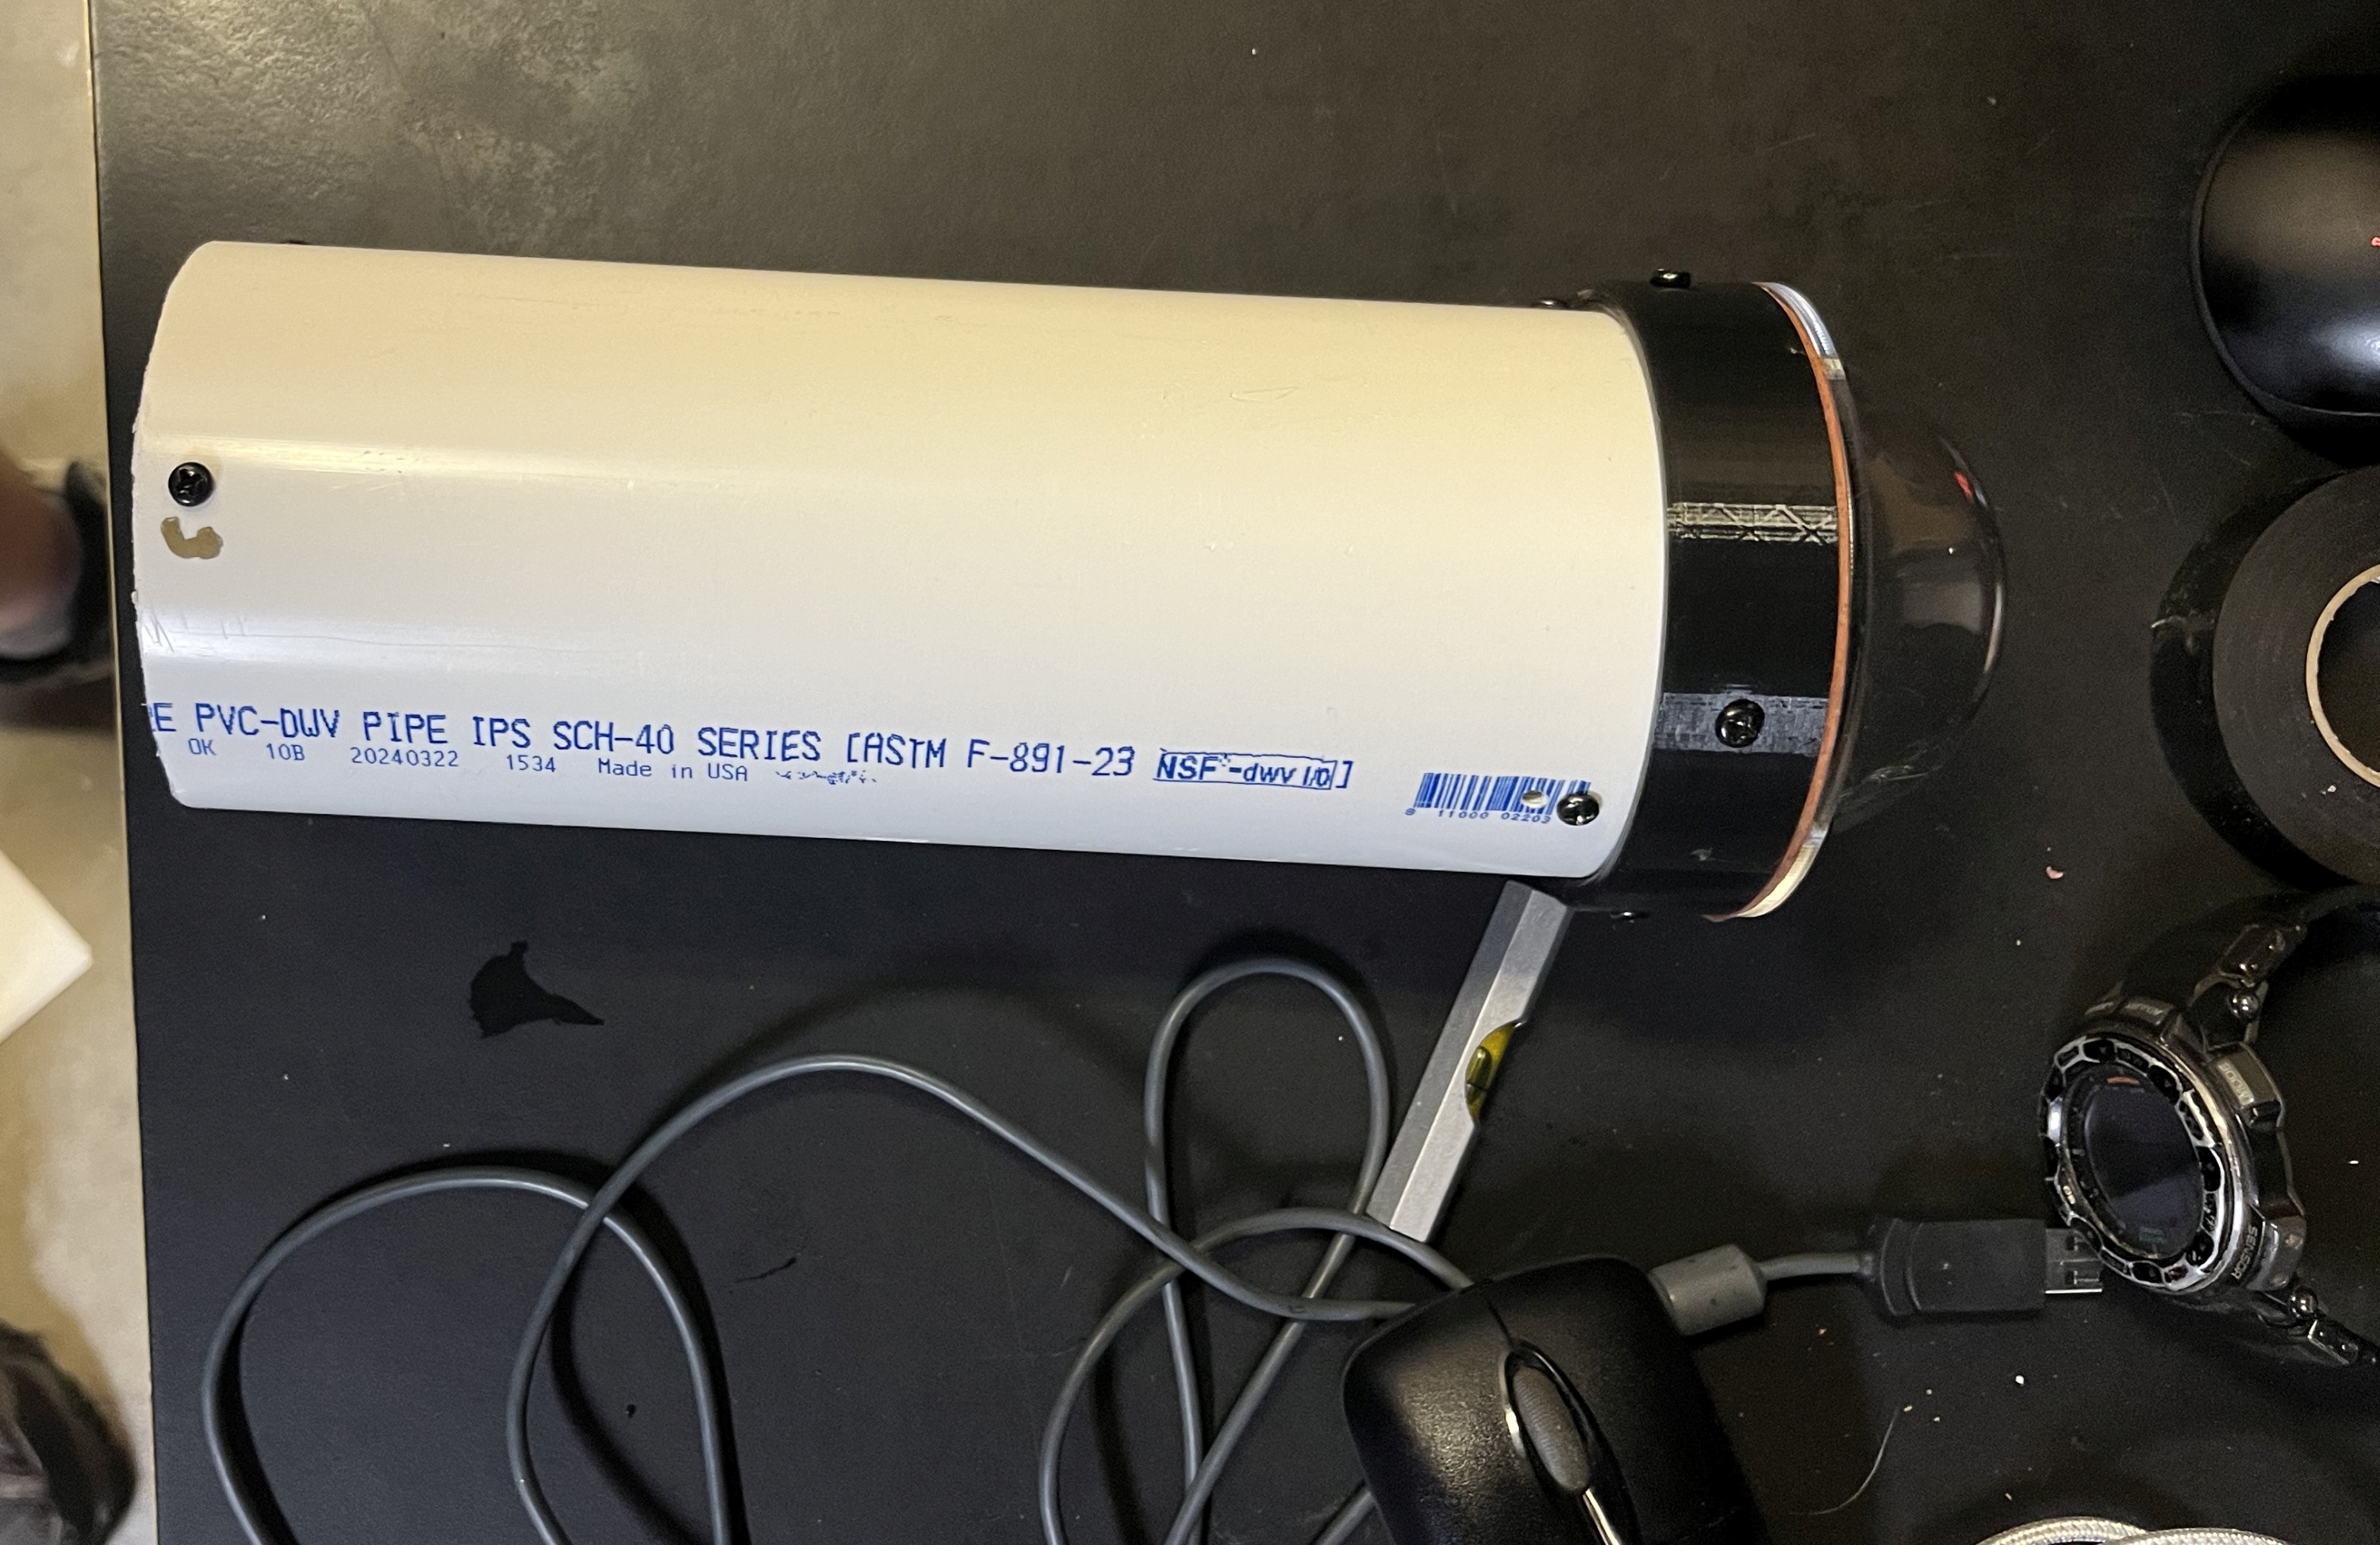
Here are some images of the camera housing. This is version 1, version 2 is basically identical, just redone with a longer pipe for mounting and some cleaner cuts...
Top of camera view:
Side view:
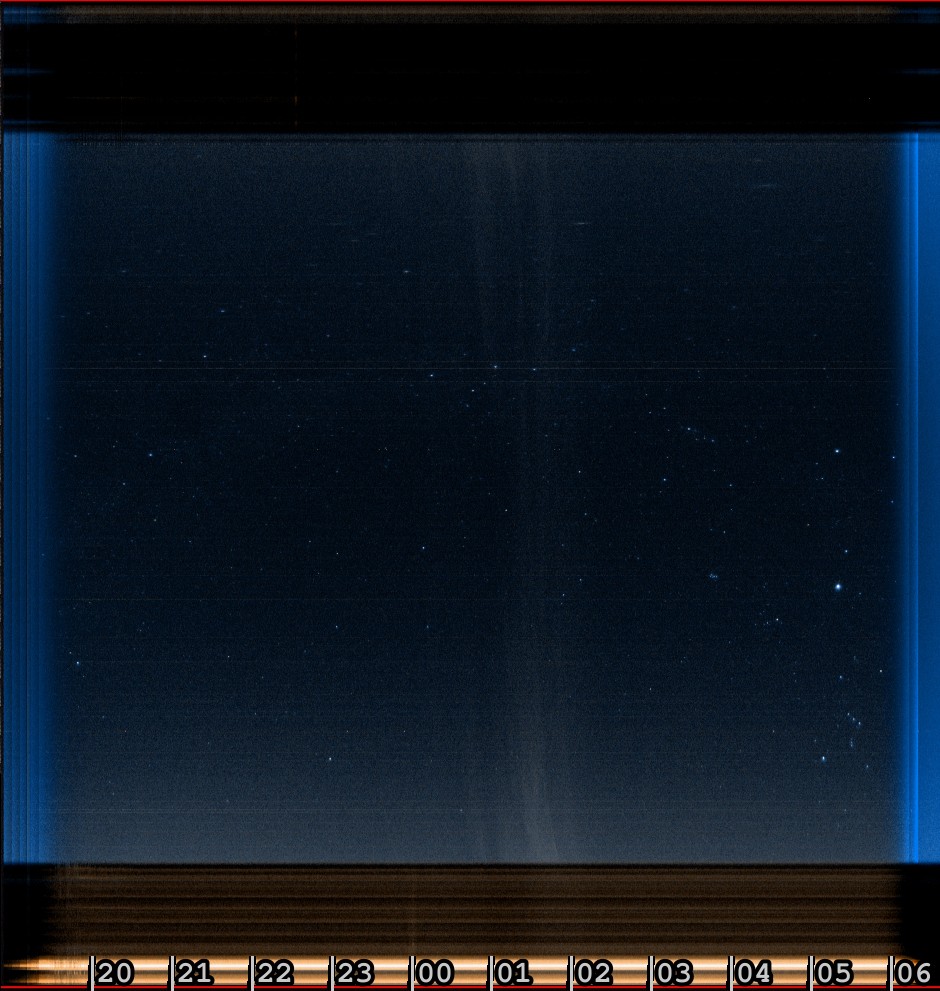
Single Night Frame, Oct 5 early morning (can you notice Orion, The Pleiades, and Cassiopeia?") )
)

Keogram image - A Keogram is made by taking a central sliver of each still frame through the night and building it into a composite image. Then a timeline is inserted below. this allows you to see what the weather did through the night in one still frame. In this one you see when some wispy clouds came through, as well as what time Orion passed overhead (as you can verify in the still image above...)
Here is the composite image of the star trails throughout the night.

Then for those who have stuck it out this far, here are the timelapses created from the same night. These are NOT going to compete with the kind of results that @JimFox gets, but are still fun and also show the weather patterns throughout the night. The software can also autodetect things like meteors - we will see how that works. So far i think it has picked out a few planes and maybe satellite trails, but no obvious meteors...
Night Timelapse, Oct 5th
Night Startrail Timelapse, Oct 5th
As always, comments welcome, and if anyone wants more details on how this was all done please reach out and I can share any details you might be interested in.
ML
The project really works because of the excellent free software from Aaron Morris, indi-allsky. After filling out a few setup parameters it does all the heavy lifting, taking the images, adjusting the camera gain and brightness, and creating the timelapses, and keograms. The system is accessible via a webpage interface, with everything accessible to any user except the settings pages, which require password login to access. Pretty cool. Or unfortunately, not pretty cool, which brings me to the big issue with the current design. Heat. Both the camera and the Raspberry Pi get a bit toasty, and that is under the current weather conditions here in CO. Given that I would like to be able to deploy this down to where my gear is located in AZ, this issue is a non-starter. Camera cooling could be addressed by using a cooled dedicated astro cam of some type for the camera adding cost) and letting the TEC keep the camera below dangerous temp levels during the day (during nighttime I expect the heat to be a feature as it hopefully will handle any dew or frost issues...) The Raspberry Pi though also gets very warm and likely would throttle down and likely shutdown completely under the temps down in AZ even at this time of year. So for now, this is a proof of concept but not a workable camera until those issues are addressed.
The current design uses the built in WiFi of the Pi for connectivity, which is not the best but makes deployment simpler. Another approach would use a dedicated Ethernet cable with PoE to supply the power. That might run into power over Ethernet constraints, depending on demands of the PI, camera, and any cooling solutions, but would have more reliable connectivity. In my case, I have a small outdoor rated Wifi repeater that is now next to the camera on the roof to solve any connectivity issues.
Even with these design compromises, the output from the camera is still pretty fun. I have hosted 2 representative timelapses on YouTube, and will include some still images here. What is the point of all of this (other than some geeky engineering fun) - well it is very helpful to be able to see what parts of the sky are clear at any given time when you are imaging, especially imaging remotely as I do.
Here are some images of the camera housing. This is version 1, version 2 is basically identical, just redone with a longer pipe for mounting and some cleaner cuts...
Top of camera view:
Side view:
Single Night Frame, Oct 5 early morning (can you notice Orion, The Pleiades, and Cassiopeia?
)Keogram image - A Keogram is made by taking a central sliver of each still frame through the night and building it into a composite image. Then a timeline is inserted below. this allows you to see what the weather did through the night in one still frame. In this one you see when some wispy clouds came through, as well as what time Orion passed overhead (as you can verify in the still image above...)
Here is the composite image of the star trails throughout the night.
Then for those who have stuck it out this far, here are the timelapses created from the same night. These are NOT going to compete with the kind of results that @JimFox gets, but are still fun and also show the weather patterns throughout the night. The software can also autodetect things like meteors - we will see how that works. So far i think it has picked out a few planes and maybe satellite trails, but no obvious meteors...
Night Timelapse, Oct 5th
Night Startrail Timelapse, Oct 5th
As always, comments welcome, and if anyone wants more details on how this was all done please reach out and I can share any details you might be interested in.
ML