Goblets

Ben Egbert

Forum Helper
Staff member
I wanted to learn how to use focus stack or focus bracketing as canon calls it. No big effort to optimize lighting or background.

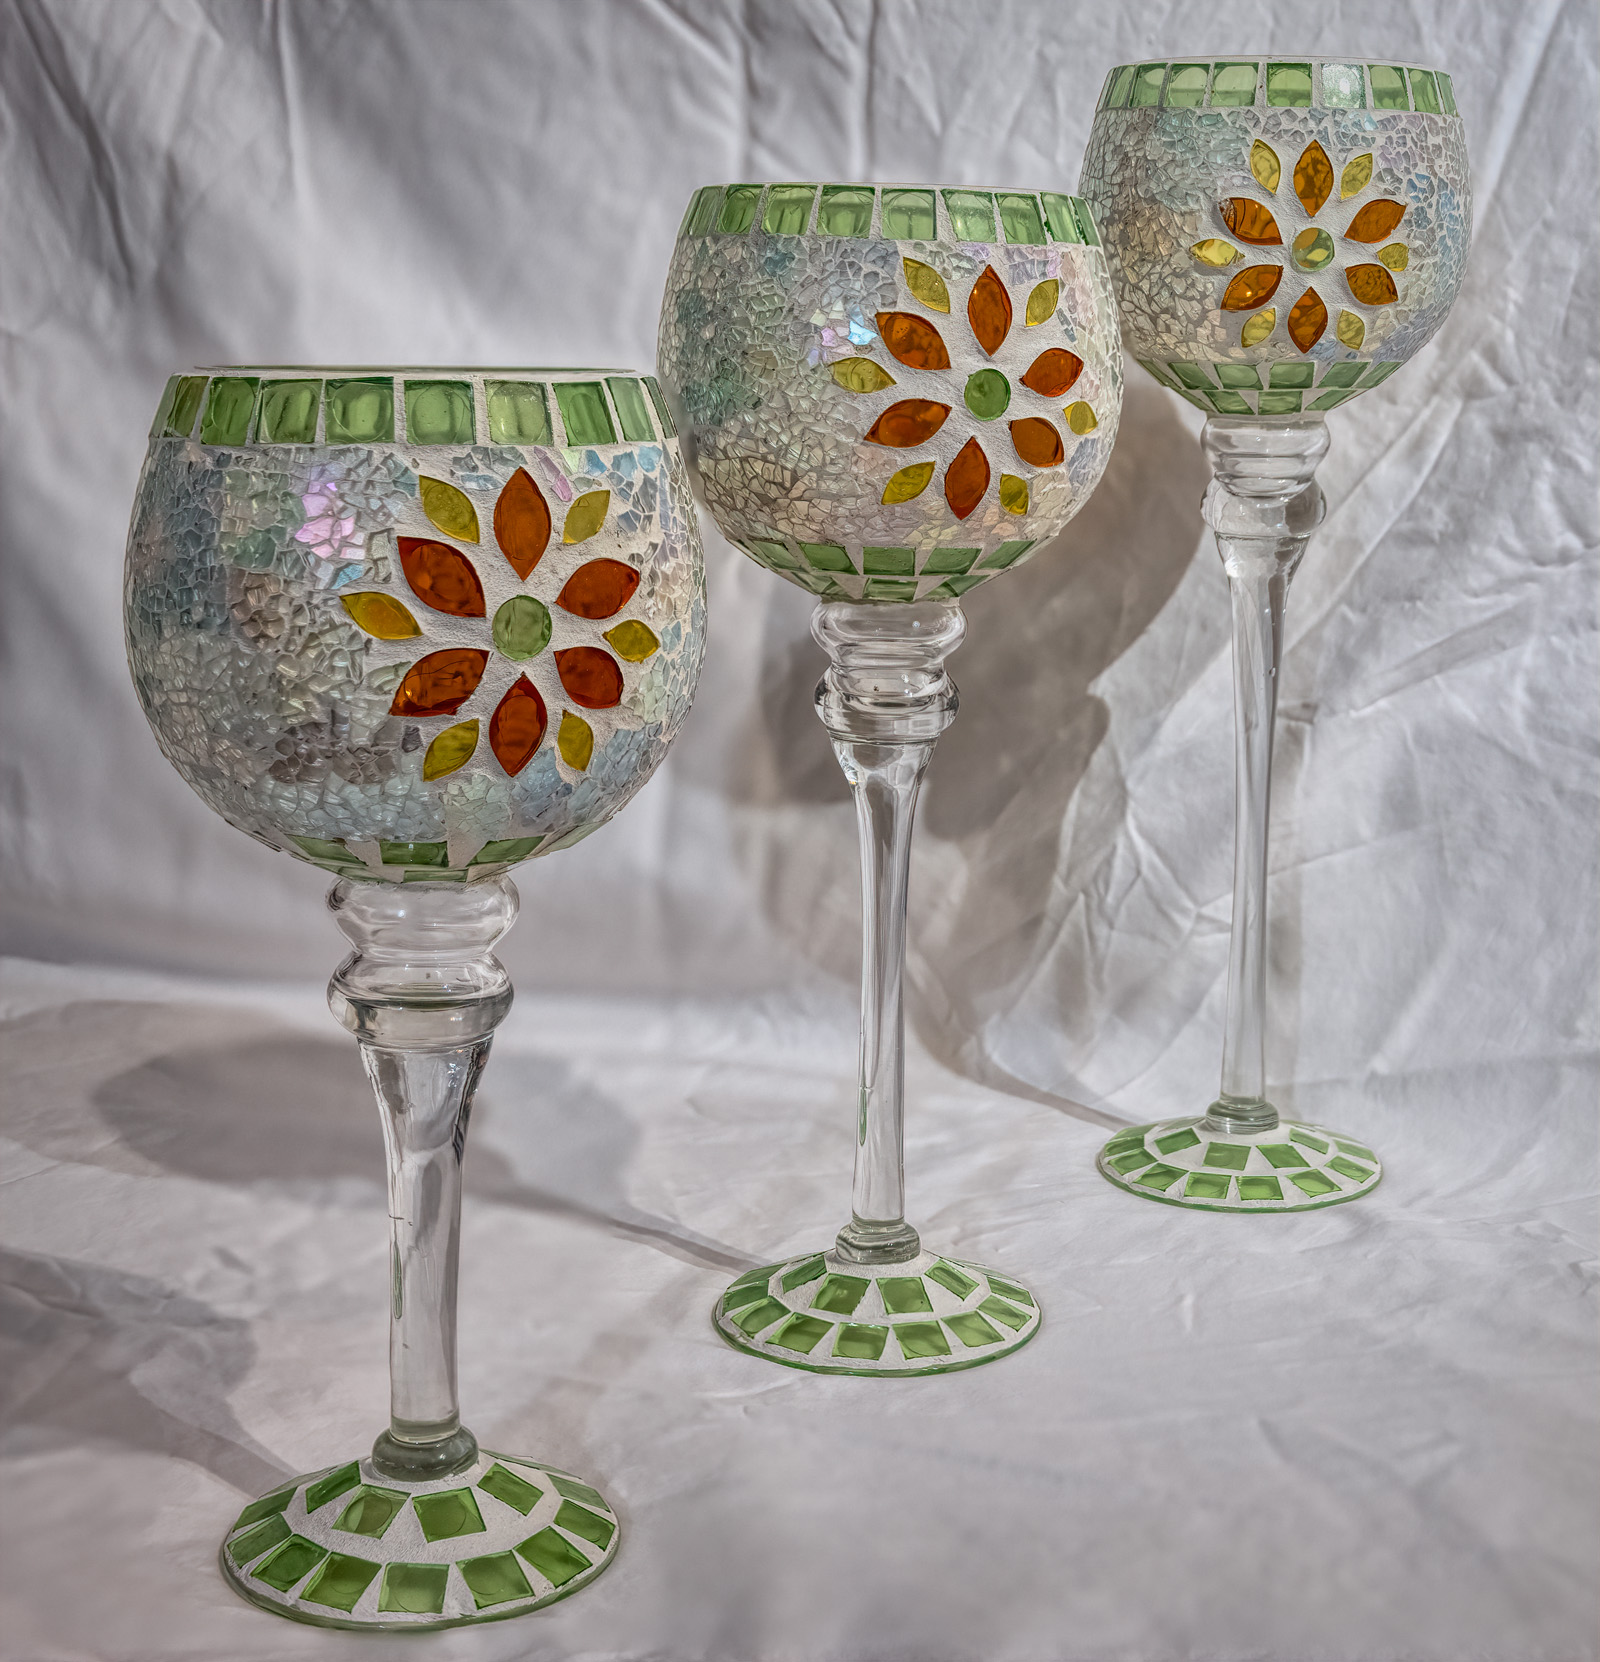
This was with the new Canon R5 with my EF24-70 f2.8 at f2.8 iso 100 at 39mm. The focus was on the first goblet using 8 steps and increment sat at 5. I discarded image 8 as Canon recommends.

CC welcome

201127-209-R5 foc stack.jpg
 

AlanLichty

Moderator
So the R5 has its own focus stepping? I just tap the Live View screen wherever I want the next focus point to be and squeeze off the shot. The focus looks clean front to back.
 

Ben Egbert

Forum Helper
Staff member
Canon does not have a way to set the end point. You focus on the near side and then guess the step size and number of images. I started at 4 and that did not work, it did not render the last goblet sharp. So I just went to 8. I need to try this on a landscape.
 

Jameel Hyder

Moderator
Staff member
My ideal setup would be :

a. Set near focus
b. Set far focus
c. # of shots (this would depend on the total distance as well as the aperture used). Its possible for the camera to make this determination as well.

Many years ago I bought a remote control called promote control which, among other things, included the focus stack. It used the method above (near point, far point and # of shots). It did the rest including focusing and works on any Canon camera. I still have it but haven't used it for a while. I had dabbled a bit into time lapse which is what I purchased this for.
 

Ben Egbert

Forum Helper
Staff member
So the R5 has its own focus stepping? I just tap the Live View screen wherever I want the next focus point to be and squeeze off the shot. The focus looks clean front to back.
Thanks for the suggestion Alan, I just did another using manual focus and peaking and did 3 images, one focused on each goblet. Very similar results.

My ideal setup would be :

a. Set near focus
b. Set far focus
c. # of shots (this would depend on the total distance as well as the aperture used). Its possible for the camera to make this determination as well.

Many years ago I bought a remote control called promote control which, among other things, included the focus stack. It used the method above (near point, far point and # of shots). It did the rest including focusing and works on any Canon camera. I still have it but haven't used it for a while. I had dabbled a bit into time lapse which is what I purchased this for.
My BR E1 just arrived, a bluetooth remote that works from any direction and up to 16 feet. It can also focus. Easy set up and much better than using my iPhone as a remote because the connection is more stable.
 

Jim Dockery

Well-Known Member
Does the camera process the set of pictures on the spot to produce a single image? Is it a RAW or jpg? Can it also save the individual RAW images for you to try stacking in your computer later?

Looking foreword to your landscape versions. I've found that for most landscapes I can get away with just 2 or 3 shots to stack if I use F11 or 13, more if I try to stick to F8 for max lens quality.

I downloaded a bootleg focus stacking app for my Sony that worked like Jameel describes. It only worked with a few lenses, and didn't always work then so I quit using it. I sure wish Sony would implement their own version, but they seem to be dropping apps altogether which is a shame.
 

Jameel Hyder

Moderator
Staff member
The camera doesn’t do any processing. It just captures the number of images specified moving the focus towards infinity starting from the initial focus point. RAW or JPG depends on capture setting and not specific to the bracketing. There is quite a bit of guessing involved here - what increment to use, how many shots and most importantly whether the last shot will be far point you want to focus on. For landscape use it’s probably ok with an aperture of f8 or smaller and large increments. Macro stuff will be more challenging and one can likely figure out with some experiments and experience.
 

Ben Egbert

Forum Helper
Staff member
Jameel had it right. The processing is also straight forward, just add all images as layers and run image align followed by image blend and you have your stacked image.
 

Amy Earl

Well-Known Member
Interesting image. It plays with my mind and eye, I think because the goblets are all different heights, right? I wonder how it would look if the sheet were also entirely in focus (it's blurred behind the first goblet). Would there be a way to do that?
 

Ben Egbert

Forum Helper
Staff member
Interesting image. It plays with my mind and eye, I think because the goblets are all different heights, right? I wonder how it would look if the sheet were also entirely in focus (it's blurred behind the first goblet). Would there be a way to do that?

Thanks Amy, not sure how that happened. but I would guess it was photoshop when it chose sharp areas, it had nothing to select there. Anyway, I would have preferred a smooth background, had I some source for it.
 

Jameel Hyder

Moderator
Staff member
Since you shot these at f2.8, keeping all of them sufficient distance from the background would have made that more oof and smoother.

To answer Amy's question, its definitely possible by including a shot with the sheets in focus. PS would pick the most in focus parts from all the candidates.
 

Amy Earl

Well-Known Member
Good point @Jameel Hyder. This could make for a really neat photo at f2.8 experimenting with a dark or light background further in the background so that it was completely soft and oof. The sheet with the wrinkles detracts from the beauty and ornate detail of the subject. It might also be fun to put some more lights nearby to see what kind of color reflections would come out of the glass. (Or behind, shining through!)
 

Ben Egbert

Forum Helper
Staff member
Hi Amy, it was just a quick experiment to learn how to use the focus bracketing feature in my new camera. My real test will be when I try it as a landscape. I don't have the right kind of lights or drops to do this justice as a table top. But you have given me ideas.
 
Top Bottom